AIR 2.6 IPad Example On iOS With FDT
Last friday I worked on getting an Air 2.6 application running on my iPad. Today I want to share with you how to do this. It’s not hard but you have to go through some steps to accomplish this. Please note that to run your AIR application on your iPad you need to have an Apple Developers license ($99 a year). To build a project on the iPad you have to create a ‘provisioning profile’ and get a ‘.p12′ developers certificate. If you go to the provisioning portal it’s pretty easy to find. There is also a guide written by Adobe. If you have your .p12 and your .mobileprovision file you can continue reading.
Getting the latest FlexSDK and merge it with AIR 2.6
For my test project I have used Flex 4.1.x SDK. You can download this SDK right here. Uncompress the zipfile and put it somewhere safe. Then download the AIR 2.6 SDK from this page. Put this zip file inside the FlexSDK folder you just downloaded and open the terminal and navigate to the SDK folder. Then it’s time to merge the SDK’s you do this with this command:
tar jxvf AdobeAIRSDK.tbz2
Now the SDK is ready for use in FDT, I will guide you through the steps of getting a simple project running on the iPad.
Adding the new SDK files in FDT
In FDT open the settings and navigate to ‘FDT > Installed SDKS’
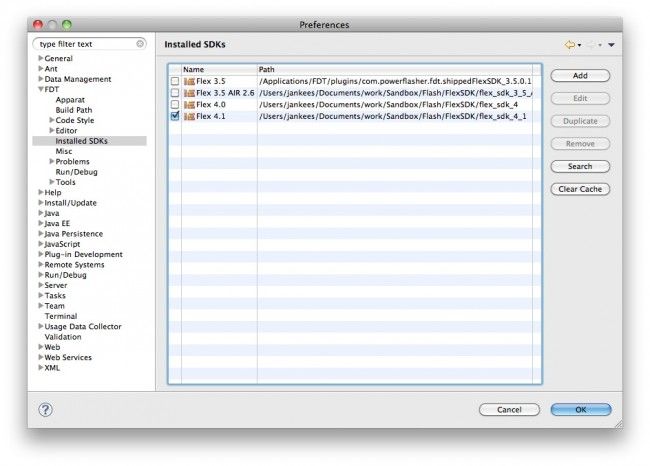
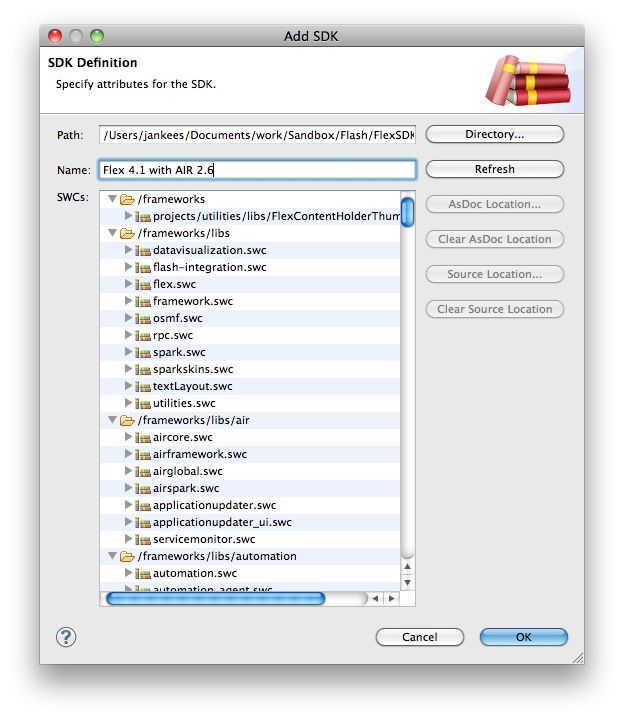
In this screen click ‘add’ and then click ‘directory’ from the screen that pops up. Choose the folder you have saved the combined SDK in, and click ‘open’. FDT will then start it’s hunt for all the SDK files;
The end result should look very similar to this screenshot: (don’t forget to give it a name so you can find it later)
Downloading my example project
As an example I added my demo project to Github so you can have a quick start. Click here to download this. Then go back to FDT and click File > import. In the import dialog pick ‘existing project into workspace’
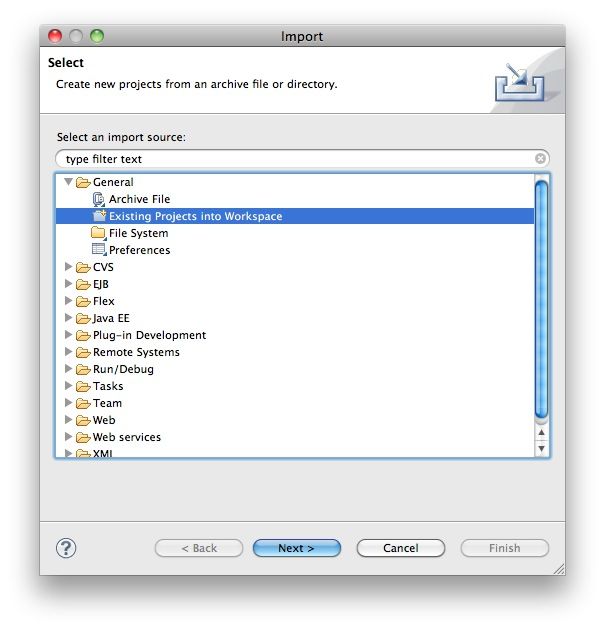
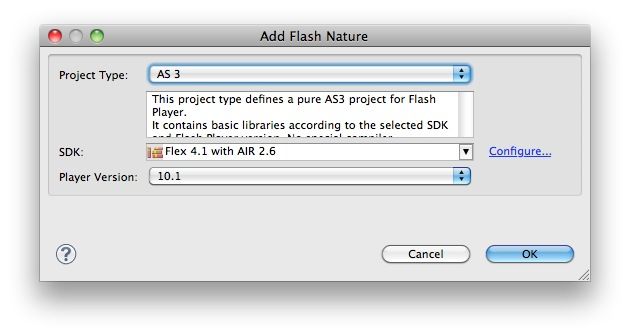
Click on ‘browse’ and find my example project you just download from, then click ‘Finish’. Now pick the new FlexSDK which includes AIR 2.6. Right click on the project name and choose ‘Flash project > remove Flash nature’. When the Flash nature is removed, right click and choose ‘Flash project > Add Flash nature’. In this dialog you can pick your new FlexSDK. Click ‘ok’ to add this.
Using the build.xml ANT file
To use the ANT files you first need to edit the ‘FLEX_HOME’ in the ‘local.properties’ file.
Then drag the build.xml from the build folder to the ANT panel.
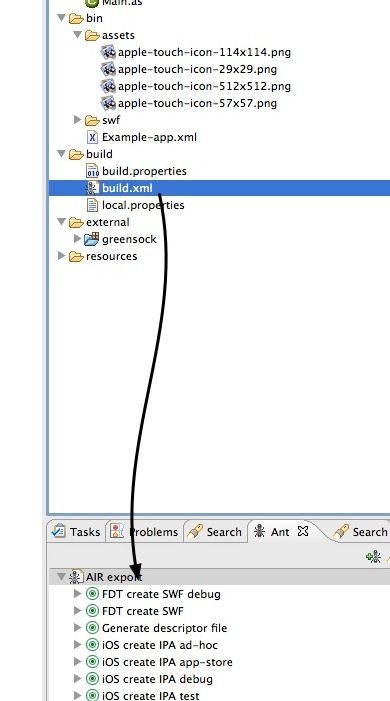
Then click right on ‘Air Export’ and choose ‘Run as > External tools configurations’ in the JRE tab be sure ‘Run in the same JRE as the workspace is enabled‘. If you enabled this click ‘apply’ and ‘close’.
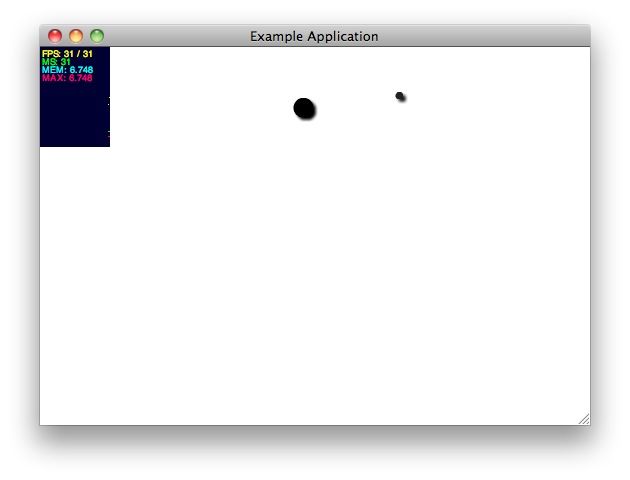
Then you can run the SWF by double clicking the ‘FDT create SWF debug’ the AIR app should look like this:
Getting it on the iPad
If you want to run it on the iPad replace my example certificates from the folder resources/ios/ with your own files. Also update the password in ‘build.properties‘.
Then it’s time to click the ‘iOS create IPA ad-hoc’ ANT task. The .ipa file is than created and uploaded to your iPad.
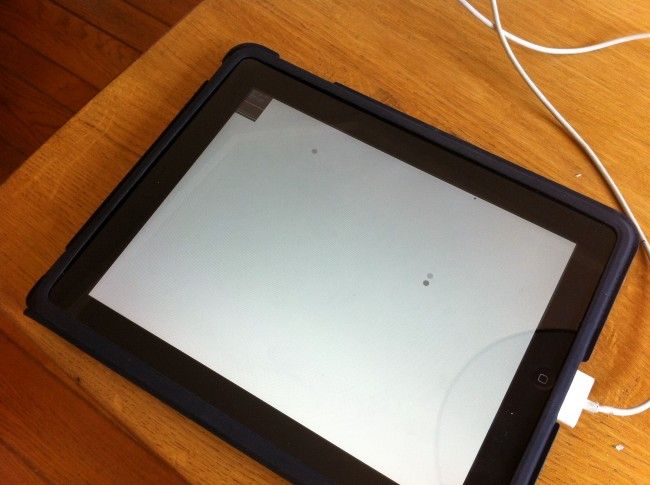
End result
So additional references:
- Adobe’s help file on the application descriptor file
- My project on Github
- Another post on this topic by va.lent.in
Big thanks to blog.derraab.com for the hints on the ANT file.

Hello, I'm Jankees van Woezik
Like this post? Follow me at @jankeesvw on Twitter